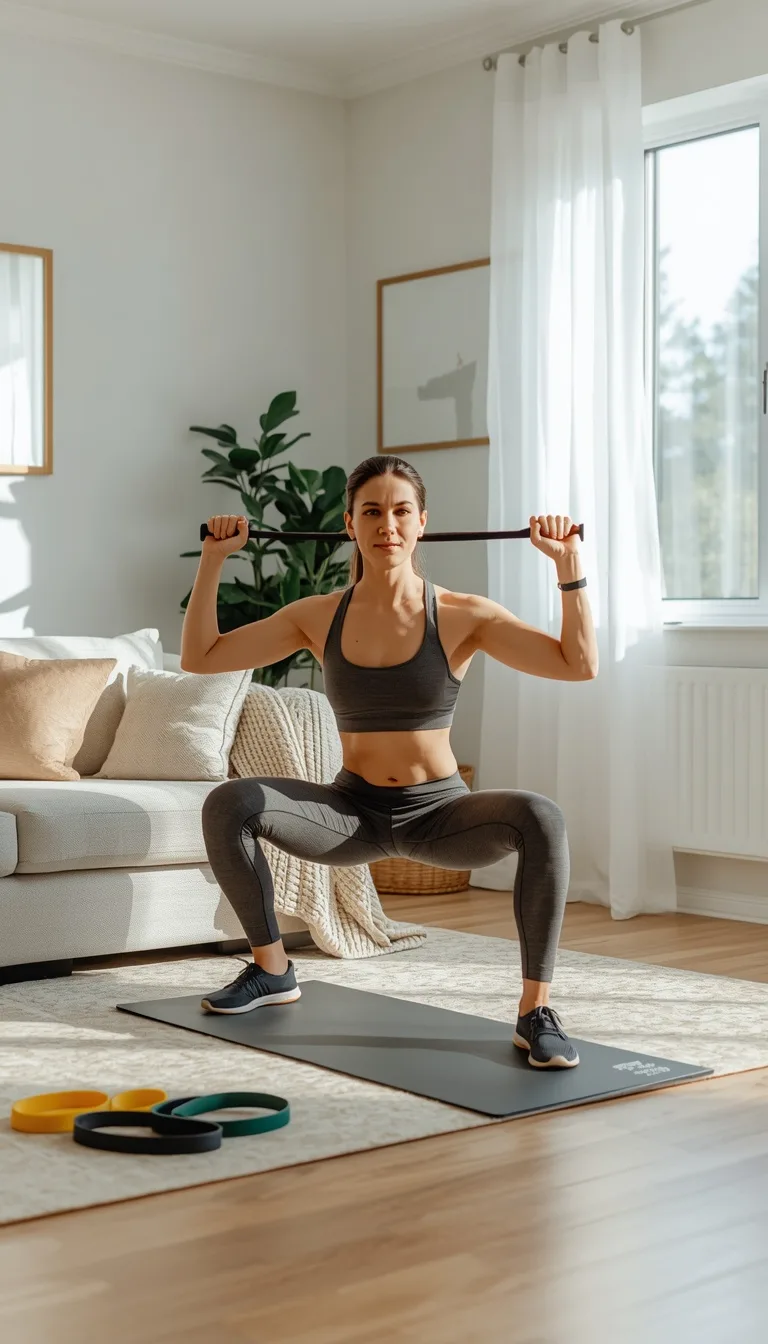
A set of resistance bands costs less than a single gym day pass, fits in a drawer, and travels in a carry-on. For a lot of people, that combination makes bands the actual starting point for home strength training, not a backup plan for when the gym is closed.
The challenge is that most “band workout” content online is a random grab-bag of exercises with no structure behind it. This guide is different: it’s organized around the muscle groups you actually need to train, with real exercises for each one, a way to pick band resistance, and a full routine of resistance band workouts at home you can follow from week one.
Quick Answer
Resistance bands can effectively train every major muscle group — legs, glutes, chest, back, shoulders, arms, and core — using the same pushing, pulling, hinging, and squatting movement patterns you’d use with dumbbells or machines. A basic set of 3-4 bands with different resistance levels, plus a door anchor, is enough to run a complete strength routine at home. Research comparing band training to conventional weight training has found no significant difference in strength gains between the two for untrained to moderately trained lifters, which makes bands a legitimate primary tool, not just a travel substitute (Frontiers in Physiology meta-analysis on elastic resistance training).
Why Resistance Bands Actually Work
Bands create resistance differently than dumbbells. A dumbbell’s resistance comes from gravity, so it’s heaviest at specific points in the movement and lightest at others. A band’s resistance comes from how far it’s stretched, so tension increases steadily as you move through the exercise — lightest at the start of a rep, heaviest at the end.
This is called variable resistance, and it isn’t a downgrade from free weights — it’s a different training stimulus that works the muscle hardest exactly where many exercises naturally get easier with weights. A 2021 meta-analysis published in Frontiers in Physiology compared elastic resistance training to conventional resistance training (free weights and machines) and found no statistically significant difference in strength gains between the two approaches, with some findings favoring bands for strength improvement specifically (Frontiers in Physiology, elastic vs. conventional resistance training). For building muscle size specifically, the evidence is less clear-cut — bodyweight and free-weight training showed more consistent muscle-growth effects in that same analysis — so bands are best understood as a genuinely effective strength tool, with free weights and bodyweight work still carrying an edge for maximizing muscle size over the long term.
Practically, this means bands aren’t a compromise while you save up for a home gym. They’re a legitimate standalone training tool, especially for anyone just starting out or training in a small space.
Choosing Your Bands
Not all resistance bands are the same, and picking the wrong type is the most common reason people give up on band training early.
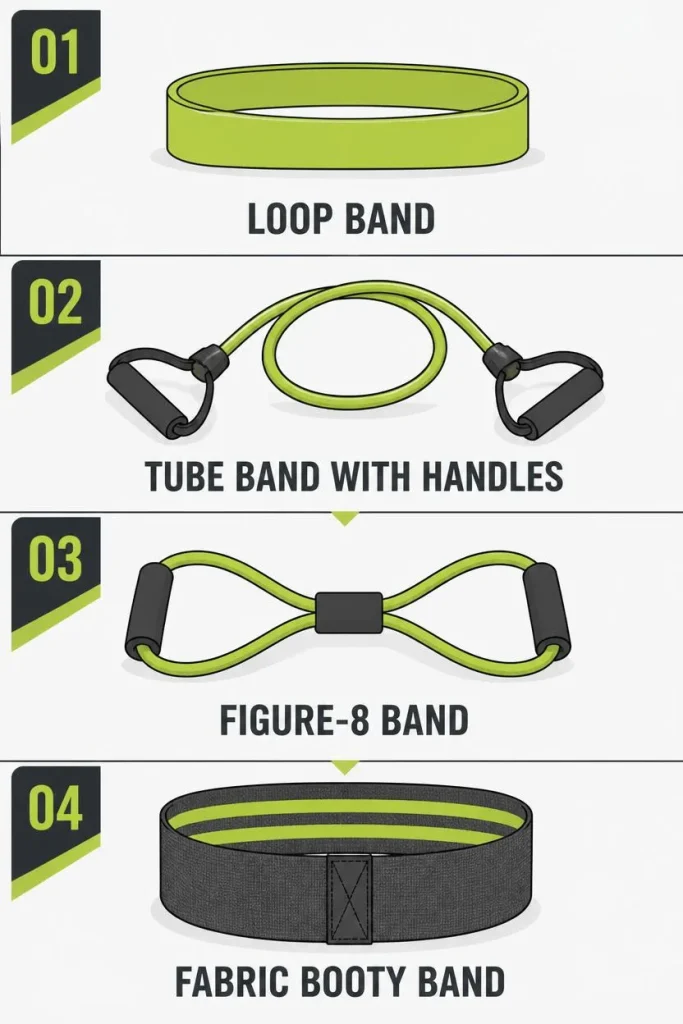
| Band Type | Best For | Notes |
|---|---|---|
| Loop bands (flat, continuous loop) | Lower body, glute activation, mobility work | Usually sold in sets by color-coded resistance |
| Tube bands with handles | Upper body pulling and pushing, rows, presses | Easier to anchor to a door; handles improve grip |
| Figure-8 bands | Compact upper-body work, travel | Limited range of motion compared to tube bands |
| Fabric/booty bands | Glutes, hips, warm-ups | Doesn’t roll up the way thin bands do; more durable |
For a complete home setup, a tube band set with 3-4 resistance levels (light, medium, heavy, extra-heavy), interchangeable handles, and a door anchor covers nearly everything in this guide. Add one or two loop bands if glute and hip work is a priority.
A rough resistance guide for beginners:
- Light band: Shoulder isolation work, warm-ups, rehab-style movements
- Medium band: Most upper-body pulling and pushing exercises
- Heavy band: Squats, deadlift patterns, and other large lower-body movements
- Extra-heavy band: Added later, once medium/heavy bands feel too easy for compound lower-body moves
Bands vs. Dumbbells vs. Machines
None of these tools is strictly “better” — each has trade-offs worth knowing before you decide where bands fit into your training.
| Factor | Resistance Bands | Dumbbells | Gym Machines |
|---|---|---|---|
| Cost | Low ($20-$50 for a full set) | Moderate to high, especially for a full range | High (gym membership or home machine cost) |
| Space Needed | Minimal, fits in a drawer | Moderate, needs storage space | Large, dedicated equipment |
| Portability | Excellent | Poor | None |
| Resistance Curve | Increases through the movement (hardest at the end of the rep) | Constant, driven by gravity (hardest at specific joint angles) | Often matched to the muscle’s natural strength curve |
| Precise Load Increments | Limited (resistance jumps between band levels) | Easy to add small increments (2.5-5 lb plates) | Usually easy, in small weight-stack increments |
| Best For | Beginners, travel, pulling movements, joint-friendly training | General strength building, precise progression | Isolated muscle work, heavier compound lifts over time |
The practical takeaway: bands are an excellent primary tool for beginners and anyone training in a small space, and a useful supplement for more experienced lifters who also have access to dumbbells or a gym. None of this requires choosing one tool permanently — many people rotate between bands and weights depending on the week, their travel schedule, or what’s available.
Training Every Major Muscle Group
Current physical activity guidelines recommend muscle-strengthening activity at least two days a week that works all the major muscle groups, not just the ones that are easiest to isolate (CDC Physical Activity Guidelines fact sheet for adults). The sections below are organized exactly that way, so you can build a routine that actually covers everything rather than defaulting to arms and abs.
Legs and Glutes
Band Squat
- Stand on the band with feet shoulder-width apart, holding the handles or ends at shoulder height.
- Lower into a squat, keeping your chest up and knees tracking over your toes.
- Drive back up through your heels.
Beginner tip: Start with a lighter band than you think you need. Band squats get harder quickly as the band stretches further at the bottom of the movement.
Band Glute Bridge
- Lie on your back, knees bent, feet flat, with a loop band around your thighs just above the knees.
- Push through your heels, lifting your hips while pressing your knees slightly outward against the band.
- Squeeze at the top, then lower with control.
Band Lateral Walk
- Place a loop band around your ankles or just above your knees, feet hip-width apart in a slight squat.
- Step sideways, keeping tension on the band throughout, for 10-15 steps in each direction.
This is a common warm-up movement used to activate the glutes before heavier lower-body training, and it’s also effective as a standalone exercise for hip stability.
Chest and Pushing Muscles
Band Chest Press
- Anchor the band behind you at chest height (around a sturdy pole, heavy furniture leg, or a door anchor).
- Hold the handles at chest level, step forward to create tension, and press forward until your arms are extended.
- Return with control.
Band Push-Up
- Loop a band across your upper back, holding one end in each hand in a standard push-up position.
- Perform a normal push-up; the band adds resistance as you push up, making the top portion of the movement harder.
Beginner modification: Drop to a kneeling push-up position and remove the band entirely until standard push-ups feel manageable, then reintroduce the band for added resistance.
Back and Pulling Muscles
Pulling exercises are the category most home routines skip, since they require something to anchor against. Bands solve that problem directly, and a dedicated pulling routine is worth building out further if this is a gap in your current training — see FitVibe’s full guide to training your back at home for a deeper breakdown of rows, pulldowns, and a pull-up progression.
Band Row
- Anchor the band at chest height, hold the handles with arms extended.
- Pull your elbows back, squeezing your shoulder blades together.
- Return slowly.
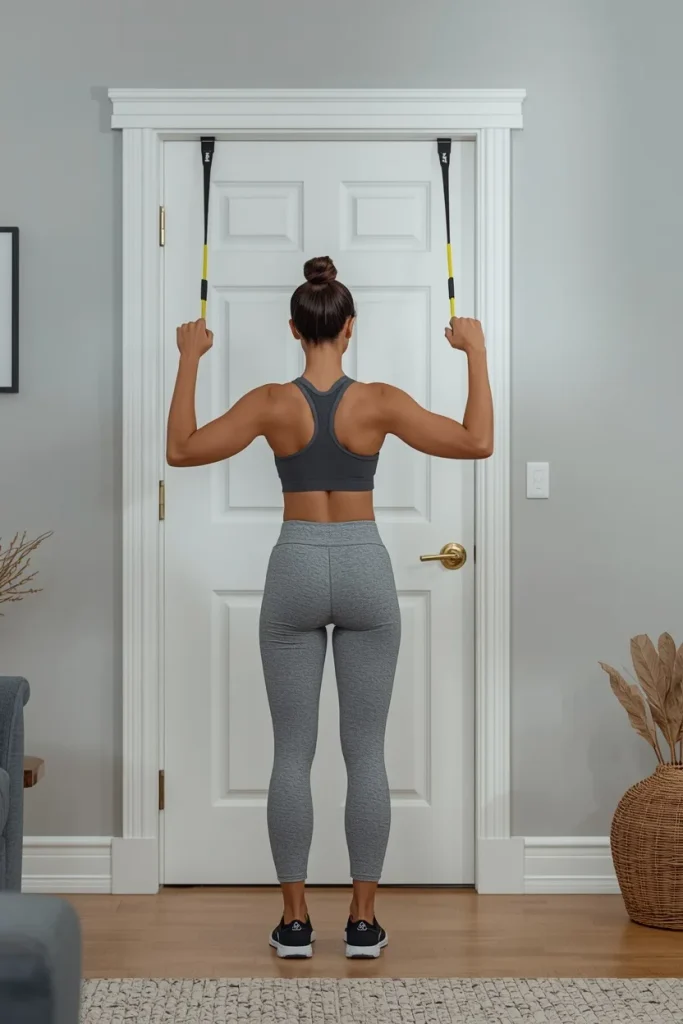
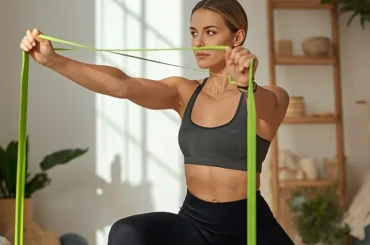
Band Pull-Apart
- Hold a light-to-medium band with both arms extended in front of you at shoulder height.
- Pull the band apart until it touches your chest, keeping your arms straight.
- Return with control.
This is one of the most effective exercises for upper-back and posture work, and it’s light enough to do almost daily.
Shoulders
Band Overhead Press
- Stand on the band with feet shoulder-width apart, holding the handles at shoulder height.
- Press overhead until arms are extended, then lower with control.
Band Lateral Raise
- Stand on the band with one foot, holding the handle in the opposite hand.
- Raise your arm out to the side to shoulder height, keeping a slight bend in the elbow.
- Lower slowly.
Arms (Biceps and Triceps)
Band Bicep Curl
- Stand on the band, holding handles with arms extended, palms facing forward.
- Curl your hands toward your shoulders, keeping elbows close to your body.
- Lower with control.
Band Tricep Extension
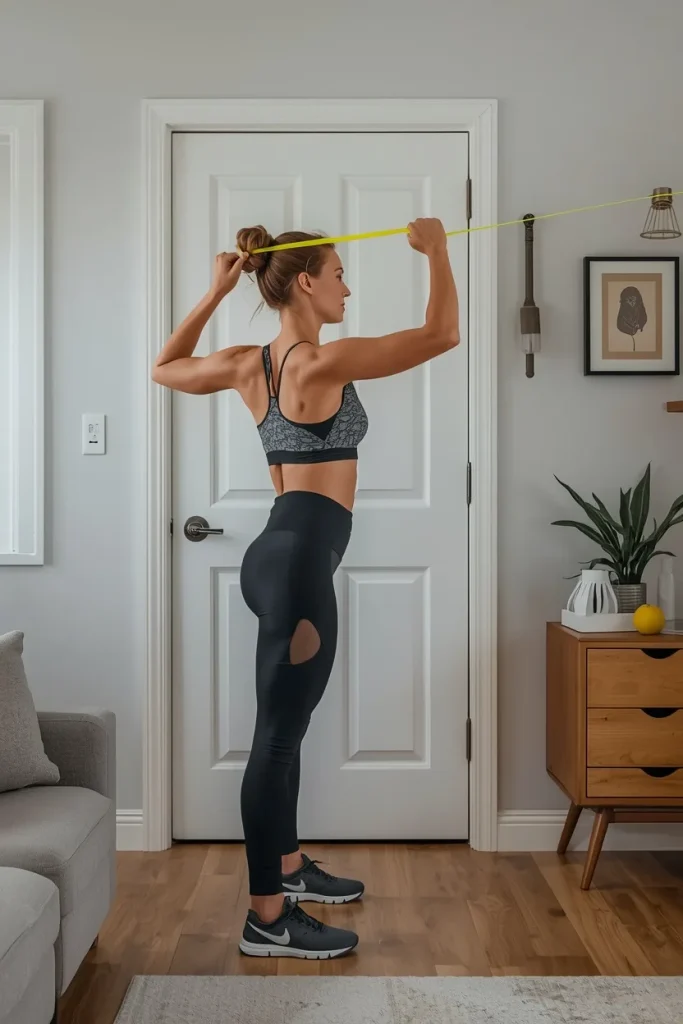
- Anchor the band above you (a door anchor works well) and hold the handle with one arm bent behind your head.
- Extend your arm fully, then return with control.
Core
Band Pallof Press
- Anchor the band at chest height to your side, hold the handle with both hands at your chest.
- Press the handle straight out in front of you, resisting the band’s pull to rotate you sideways.
- Hold briefly, then return.
This exercise trains anti-rotation core strength, which is often missed by crunch-focused routines and is directly useful for everyday stability.
Band Woodchop
- Anchor the band low to one side, hold the handle with both hands.
- Pull the band diagonally across your body, up and across to the opposite shoulder, rotating through your torso.
- Return with control, then complete all reps before switching sides.
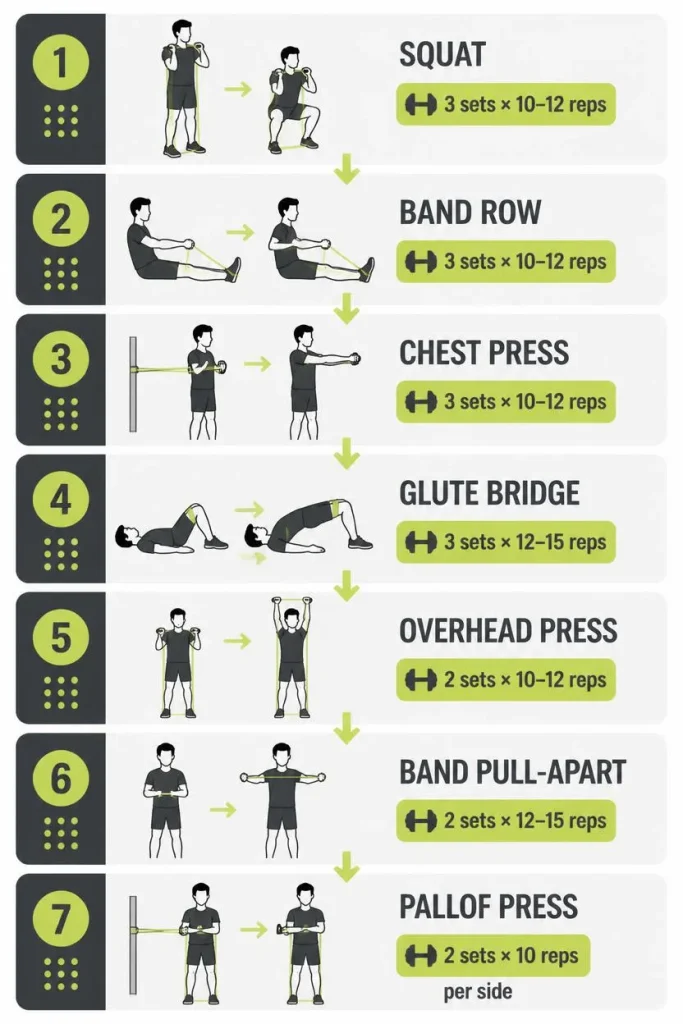
A Complete Full-Body Band Routine
This routine covers every major muscle group in one session and takes 25-35 minutes, including rest between sets. It’s designed to pair well with a realistic weekly schedule, including the kind outlined in FitVibe’s guide to building a healthy routine on a busy schedule.
| Exercise | Muscle Group | Sets x Reps | Rest |
|---|---|---|---|
| Band Squat | Legs/Glutes | 3 x 12-15 | 45-60 sec |
| Band Row | Back | 3 x 12-15 | 45-60 sec |
| Band Chest Press | Chest | 3 x 10-12 | 45-60 sec |
| Band Glute Bridge | Glutes | 2 x 15 | 30-45 sec |
| Band Overhead Press | Shoulders | 2 x 10-12 | 45-60 sec |
| Band Pull-Apart | Upper Back | 2 x 15 | 30 sec |
| Band Pallof Press | Core | 2 x 10 per side | 30 sec |
For a shorter session, pick one exercise per muscle group and do 2 sets each — roughly 15-18 minutes total. This is enough to meet general muscle-strengthening recommendations when done two to three times a week.
Example Weekly Structures
Three days a week (most people):
- Day 1: Full-body routine (above)
- Day 2: Rest or light cardio
- Day 3: Full-body routine
- Day 4: Rest
- Day 5: Full-body routine
- Days 6-7: Rest or other activity
Two days a week (minimum effective dose):
- Day 1: Full-body routine
- Day 2-3: Rest or other activity
- Day 4: Full-body routine
- Remaining days: Rest or other activity
Two sessions a week is the minimum needed to meet general muscle-strengthening guidelines across all major muscle groups consistently; three sessions typically produces faster progress without requiring significantly more total time.
How to Progress With Bands
Bands can’t be loaded in small, precise increments the way a barbell can, which means progression works a little differently. Four practical methods:
- Move to the next resistance level. This is the most direct equivalent to “adding weight.”
- Increase reps or sets before upgrading band resistance, especially when the jump to the next band feels too large.
- Slow down the tempo, particularly the lowering phase of each rep, to increase time under tension without changing equipment.
- Shorten the band by choking up on it or stepping further from the anchor point, which increases tension throughout the same range of motion.
This mirrors the same core principle used across strength training more broadly: a gradual, trackable increase in demand over time, rather than large unpredictable jumps. For a deeper look at how this applies beyond band training specifically, see FitVibe’s guide to what progressive overload actually means.
Common Mistakes With Resistance Band Training
| Mistake | Why It’s a Problem | Better Approach |
|---|---|---|
| Using the same band for every exercise | Some movements need far more resistance than others (squats vs. lateral raises) | Keep 2-3 band strengths on hand and match resistance to the exercise |
| Letting the band go slack at the top or bottom of a rep | Reduces time under tension and training effect | Keep light tension on the band throughout the full range of motion |
| Anchoring to an unstable object | Risk of the anchor failing or the band snapping back | Use a secured door anchor, sturdy pole, or heavy furniture that won’t shift |
| Rushing through reps | Momentum does more of the work than your muscles | Slow the tempo, especially on the return phase |
| Only training push exercises (chest, shoulders, triceps) | Creates muscle imbalance and skips pulling and lower-body work | Follow a full-body structure that covers every major muscle group |
| Never replacing worn bands | Bands degrade with UV exposure and repeated stretching, raising snap risk | Inspect bands regularly for small cracks or thinning and replace them when worn |
Before-You-Start Checklist
- [ ] Have at least 2-3 band resistance levels on hand (light, medium, heavy)
- [ ] Confirm your anchor point (door anchor, pole, sturdy furniture) is secure
- [ ] Inspect bands for cracks, thinning, or visible wear before each use
- [ ] Choose 2-3 fixed training days per week
- [ ] Warm up with 5 minutes of light movement before heavier band work
- [ ] Track resistance level, sets, and reps so you can see progress over time
Real-World Examples
Busy beginner, 20 minutes, 3 days a week: One exercise per major muscle group, 2 sets each, moving efficiently between movements with minimal rest.
Small apartment, no door anchor allowed: Focus on exercises that only require standing on the band (squats, rows using a seated position with feet as the anchor, bicep curls, lateral raises) rather than door-anchored movements.
Limited time, travel days: A compact set of loop bands or a single tube band covers a meaningful full-body session in a hotel room in under 15 minutes.
Frequently Asked Questions
Can resistance bands really build muscle, or just maintain it? Bands can support real strength gains — research comparing band training to conventional weights has found no significant difference in strength outcomes between the two. Muscle size gains appear somewhat less consistent with bands alone compared to free weights or bodyweight training, so if maximizing muscle size is the primary goal, combining bands with some bodyweight or weighted work is a reasonable approach.
How many bands do I actually need to get started? Three is a practical minimum: light, medium, and heavy. This covers the resistance range needed for most of the exercises in this guide without overspending on a full set you won’t use immediately.
Do resistance bands lose effectiveness over time? Yes. Bands stretch and degrade with repeated use and UV exposure, which gradually changes their resistance profile and increases the risk of snapping. Inspect bands regularly and replace them at the first sign of cracking or thinning.
Can I combine resistance bands with dumbbells or bodyweight training? Yes, and for many people this is the most effective long-term approach. Bands work well alongside bodyweight and free-weight training rather than as a strict either-or choice.
Is it normal for bands to feel harder than the same exercise with dumbbells? Often, yes, especially near the end of the movement. Because band resistance increases as the band stretches, the hardest part of a band exercise is frequently the final portion of the rep — the opposite pattern from many dumbbell exercises.
How long until I see results from band training? This depends heavily on your starting point and consistency, and no program can promise a specific timeline. Most people training consistently two to three times a week notice improved strength and control within several weeks, with continued progress over months as training experience builds.
Safety Notes
Inspect your bands before every session — small cracks, thinning spots, or visible wear increase the risk of a band snapping under tension. Always anchor bands to secured, stable points, and keep your face and eyes clear of the band’s path in case it releases unexpectedly. Stop any exercise immediately if you experience sharp pain, dizziness, or unusual shortness of breath. If you have an existing injury, joint condition, or are new to structured exercise after a long break, consider checking with a doctor or physical therapist before starting a new resistance program, particularly for lower-body movements that load the knees and hips.
Conclusion
Resistance bands cover far more ground than most people give them credit for — legs, glutes, chest, back, shoulders, arms, and core can all be trained effectively with a basic set and a secure anchor point. The research on strength outcomes specifically supports bands as a legitimate primary training tool, not just a lightweight substitute for “real” equipment.
Start with the full-body routine above, two to three times a week, and progress by moving up a band level or adjusting tempo once the current resistance feels consistently manageable. Consistency with a simple, complete routine will outperform an elaborate one you only do occasionally.
Save This Guide: Quick Reference
- Minimum setup: 3 bands (light, medium, heavy) + a door anchor
- Full-body routine: Squat, row, chest press, glute bridge, overhead press, pull-apart, Pallof press
- Minimum frequency: 2 sessions/week, all major muscle groups
- Progression: Heavier band → more reps/sets → slower tempo → shorter band length
- Replace bands when: You notice cracking, thinning, or reduced snap-back tension
- Pair with: Adequate protein intake to support muscle recovery — see FitVibe’s high-protein breakfast guide for a practical starting point